


Australia is full of rich, historic stone buildings. Churches, homesteads, government halls and old terraces all carry the stories of our past. But time, weather and wear don’t play favourites. These old beauties often fall victim to erosion, stains, cracking and neglect. Without proper care, they risk losing both structural strength and cultural value.
That’s where expert-led stone restoration steps in. It’s not just about making things look nice. It’s about honouring the history, using the right techniques and making sure these landmarks stand strong for decades to come.
Understanding Historic Stone Materials
Restoring old stone isn’t like cleaning your kitchen floor. Historic buildings often use materials that aren’t common in modern construction. Sandstone, bluestone, travertine and hand-cut limestone were widely used, depending on local quarries and the era of construction.
Each material has its quirks. Sandstone is soft and porous, meaning it weathers quickly. Bluestone is dense but prone to cracking under stress. Limestone absorbs moisture fast and is vulnerable to acidic pollutants. A skilled stonemason needs to understand these properties to choose the right cleaning methods, repair techniques and finishes.
The wrong treatment can cause more harm than good. For example, using hard modern cements on old sandstone walls can trap moisture and speed up erosion. So, it’s not just about what works — it’s about what’s right for that stone.
That’s why professionals often start with detailed assessments, test patches and non-invasive analysis. They identify past repairs, environmental stress, and any potential risks before touching the surface.
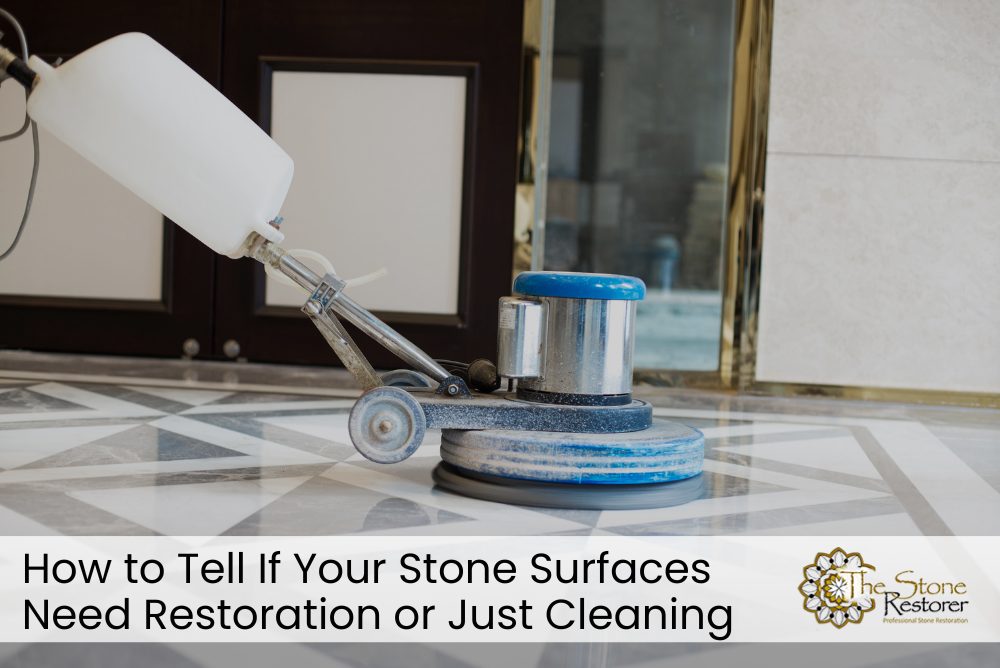
Surface Preparation and Gentle Cleaning
One of the most critical steps in historic stone restoration is surface preparation. Over time, grime, biological growth, pollution and salt deposits build up. But going in hard with high-pressure washers or harsh chemicals can permanently damage the surface.
Professionals focus on methods that clean without stripping character. Techniques like low-pressure micro-abrasion, poultice cleaning or steam treatments are safer options. These gently lift dirt while leaving the patina — the natural surface wear that gives old buildings their charm.
For softer stones, techniques like slurry-based poulticing or dry brushing are preferred. They’re slow but effective. Restorers might also remove cement-based coatings from old joints and replace them with lime mortars that match the original material.
In fact, the best techniques for polishing natural limestone floors often rely on this same careful balance of pressure, tool choice and method. Every move matters when dealing with heritage fabric.
Repairing Cracks and Structural Damage
Even minor cracks in a historic stone wall can become major problems over time. Water seeps in, freezes, expands and makes the issue worse. Expert restorers start by identifying the root cause — is it moisture? Settling? Rusting metal supports?
Once the problem is clear, repairs can begin. This might involve grouting cracks with lime-based mixtures, pinning fractured pieces with stainless rods or even rebuilding damaged sections stone-by-stone. The goal is to stabilise the structure without disturbing the rest of it.
One powerful tool in a restorer’s kit is colour-matched mortar. It allows repairs to blend with the original surface without creating a patchy finish. Done right, it’s almost invisible to the casual eye but still maintains strength and flexibility.
This focus on material compatibility is part of what separates amateur patch jobs from true heritage restoration. In the long run, it helps avoid secondary damage and keeps the building looking whole.
Choosing the Right Tools and Materials
Modern tools can be helpful, but when restoring stone structures from the 1800s or early 1900s, they need to be used with caution. For example, using diamond grinders on a soft sandstone step might cut too deep and destroy its shape.
Instead, heritage pros often lean on hand tools, pneumatic chisels and specialist abrasive pads. It’s slower, but it gives better control and precision.
When it comes to products, natural-based sealers, breathable lime mortars and custom-tinted grouts are commonly used. These let the stone breathe while keeping out moisture and pollutants.
Much like the process in choosing natural stone restoration products, selection here is about long-term compatibility, not short-term fixes. Sourcing also matters. Reclaimed or locally quarried stone is often chosen to match original pieces. This keeps the aesthetic and density consistent, which is vital when blending old and new.
Preventing Salt Attack and Rising Damp
Many historic stone buildings suffer from rising damp. It’s a problem where moisture from the ground travels up the walls, bringing salts with it. These salts form crusts and crystals that push against the surface, causing flaking, spalling and powdering.
Managing this problem isn’t just about drying the wall. It often requires under-floor drainage, breathable renders and careful ventilation. In some cases, sacrificial renders (thin coatings designed to absorb salt damage instead of the stone) are applied and later replaced.
Salt attack can also come from ocean spray or de-icing salts in colder climates. Restorers use desalination poultices to draw salts out of stone, preventing internal damage.
A good repair doesn’t stop the symptoms — it removes the source of moisture, adds breathability and protects the surface. This takes patience, planning and deep knowledge of how stone behaves over time.
Real-World Example: Town Hall Clocktower Repair
A regional town in New South Wales had a crumbling sandstone clocktower that had been patched many times over the years. Water had entered through cracked pointing, rusted the internal steel frame and caused the stone to swell and split.
A heritage team was called in. They began with an inspection using moisture meters and drone scans. The stone was cleaned with a soft mist system, then damaged sections were dismantled and reassembled using hand-carved sandstone blocks sourced from a matching quarry.
Corroded metalwork was replaced with stainless steel. Lime mortar joints were applied to allow the building to breathe. The result? A stunning revival that stayed true to the original look while strengthening the structure for the future.
This case shows how blending traditional skills with modern tech can breathe new life into ageing landmarks.
Protecting Decorative Carvings and Features
Many heritage stone buildings include decorative carvings, cornices or pillars. These elements are often the most fragile and detailed parts of the structure. Once damaged, they’re tough to replicate.
Restorers use moulds, small chisels and even 3D scanning to reproduce lost features or protect existing ones. Consolidants — special liquids that strengthen brittle stone — may be applied to prevent crumbling.
In some cases, damaged carvings are removed, repaired off-site and reinstalled. This is only done when in-place repair is impossible, as removing original elements always carries risk.
The aim is to preserve, not replace. These details give the structure its personality, so protecting them is a priority.
Regular Maintenance After Restoration
Restoring a building is only half the job. Keeping it healthy over time is what ensures the work wasn’t wasted. That’s where proper maintenance schedules come in — especially for structures that face constant exposure.
Cleaning gutters, checking pointing, monitoring moisture and resealing when needed all help prevent small problems from becoming big ones. This is part of mastering stone cleaning for long-term results, which applies just as much to homes as it does to heritage buildings. Owners are often given a maintenance plan after restoration, which includes signs to watch for and ideal timelines for follow-up checks.
FAQs
1) What is the most important step in restoring historic stone?
The most critical step is assessment. Before any work begins, restorers need to understand the condition of the stone, the source of damage and any past repairs. This often involves visual checks, moisture readings and sometimes lab testing of mortar or salts. Skipping this step risks applying the wrong treatment, which can cause long-term damage. For example, sealing a damp wall traps moisture inside, leading to decay. A solid assessment lays the groundwork for the rest of the job and ensures every decision is informed.
2) Can modern materials be used in historic stone repair?
Yes, but with caution. Not all modern materials are compatible with older stone. Cement, for example, is often too hard and traps moisture — unlike traditional lime mortar, which allows walls to breathe. However, some modern products are designed specifically for heritage work. These include breathable sealers, consolidants and colour-matched repair mortars. Using them can improve durability and protection, provided they don’t interfere with the stone’s natural behaviour. The key is understanding both the old and new materials so they work in harmony.
3) How do you match new stone with old stone in a restoration project?
Matching new stone with old is both art and science. First, restorers identify the type of stone — its grain, colour, porosity and mineral makeup. Then, they look for similar stone, often from the same region or even the original quarry if it’s still active. When that’s not possible, samples are brought in and tested for visual and physical compatibility. Surface finishing techniques like hand tooling or acid washing can also help blend the new with the old. The goal is seamless integration that doesn’t stand out or weaken the structure.
4) Is it possible to reverse poor past restoration work?
Sometimes, yes. If harsh cement or coatings were used in the past, they can often be removed and replaced with more suitable materials. This process is delicate and time-consuming. For instance, chiselling out hard pointing without damaging the surrounding stone takes a steady hand. Some surface damage from previous sandblasting or high-pressure cleaning may not be reversible, but it can be masked or reduced. While not all past mistakes can be fully undone, skilled restorers can often stabilise and improve the structure’s health and appearance.
5) What makes professional stone restoration different from DIY fixes?
Professional restoration is grounded in experience, research and the right tools. DIY approaches often use inappropriate cleaners or patching materials, which can accelerate damage. For instance, scrubbing sandstone with a wire brush or sealing a damp wall may seem helpful but often makes the issue worse. Professionals take time to assess the building, plan their approach and use materials that match the original. They also consider long-term outcomes, not just quick fixes. If the goal is to protect history and ensure lasting quality, going pro is the better option.
Preserving the Past, Building the Future
Historic stone structures connect us to the stories that shaped our towns, cities and culture. Restoring them isn’t about making them perfect — it’s about honouring their imperfections, fixing what needs fixing and giving them the care they deserve.
With the right expertise, techniques and tools, we can bring old buildings back to life without losing what makes them special. That’s the heart of great stone restoration — protecting the past while preparing for the future.
To keep your own heritage property strong and beautiful, trust the team at The Stone Restorer. We know stone, we respect history and we’re ready to help your building stand tall for the next hundred years.
Give us a call today at 0414 469 301 or ask us for a fast free quote on your tile cleaning or restoration project.

