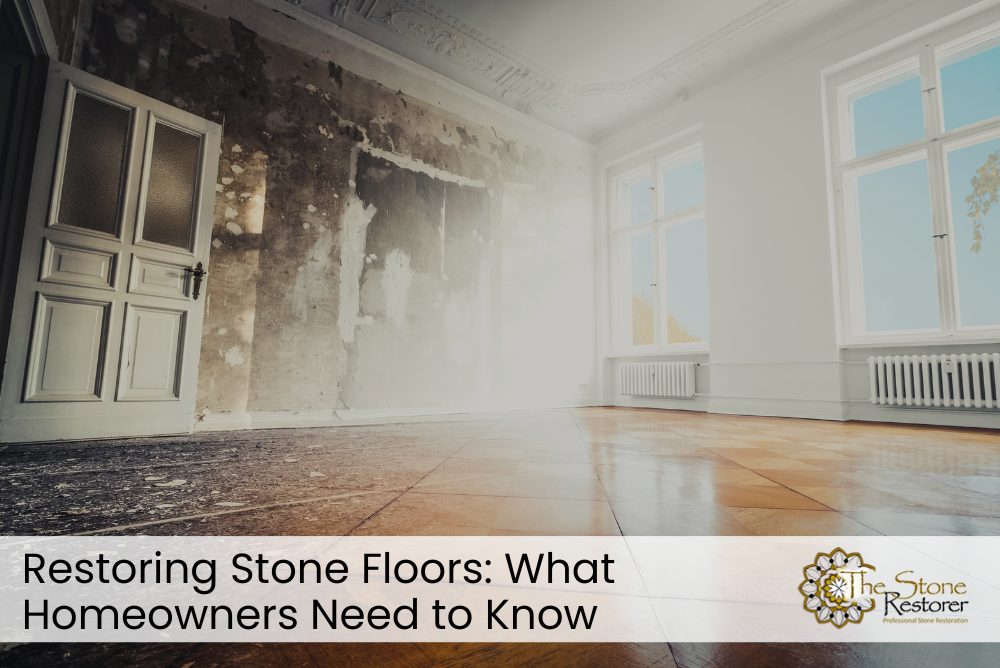
Natural stone floors add elegance, texture and timeless character to any space. Whether it’s travertine in the hallway, polished marble in the foyer or slate in the alfresco area, stone flooring brings depth and value to a home. But like anything built to last, these surfaces still face daily wear. Foot traffic, spills, shifting furniture and even improper cleaning can lead to scratches, discolouration or structural damage.
Homeowners who value longevity often turn to stone restoration as a smart solution to protect and enhance their stone flooring. Restoration offers far more than a quick polish—it renews both the strength and the natural beauty of each stone surface. For those unsure where to start or whether it’s the right time, this guide lays it all out.
Understanding Different Stone Types and How They Age
Every stone type reacts differently to age, traffic and cleaning. Marble and limestone are soft and porous, showing scratches and etching easily. Travertine, also porous, often holds moisture and dirt in its natural pits. Granite is harder and more resistant, though not immune to wear. Slate, on the other hand, tends to flake or chip along natural cleaves.
These differences matter because they impact how restoration should be approached. A limestone floor will need gentle grinding and sealing, while granite might require more aggressive polishing methods. Slate needs careful handling to avoid splitting layers. Even the wrong cleaner can leave permanent etching on certain stones.
For areas with heavy traffic or high humidity, like homes along the coast, the risk of moisture damage increases. This can lead to crumbling grout lines, efflorescence, or even mould growth beneath the surface. In these cases, natural stone floor restoration in Brisbane and Gold Coast often involves deeper interventions to prevent long-term structural issues.
Understanding what kind of stone is underfoot and how it’s aged over time is the first step toward choosing the right treatment.
Signs Your Stone Floor Needs Restoration
Not all signs of damage are obvious. While large cracks or chips are hard to miss, other indicators often go overlooked. A dull surface, patchy polish or darkened grout can all point to a floor in decline. High-traffic areas may lose their sheen faster, especially near entries or hallways.
Another subtle clue is how the floor feels underfoot. Natural stone that has eroded or lost its sealant can feel rough, powdery or uneven. Water absorption is also a key sign. If droplets no longer bead on the surface but soak in instead, the sealant has worn away, leaving the stone vulnerable to stains or moisture damage.
In these moments, people often consider doing it themselves. But without the right approach or equipment, minor problems can become major ones. Handling textured or matte-finish tiles, for instance, may require the best tools for restoring natural concrete stone to avoid creating uneven patches or surface haze.
By catching the early signs and responding with the correct process, you prevent further wear and keep the stone’s integrity intact.
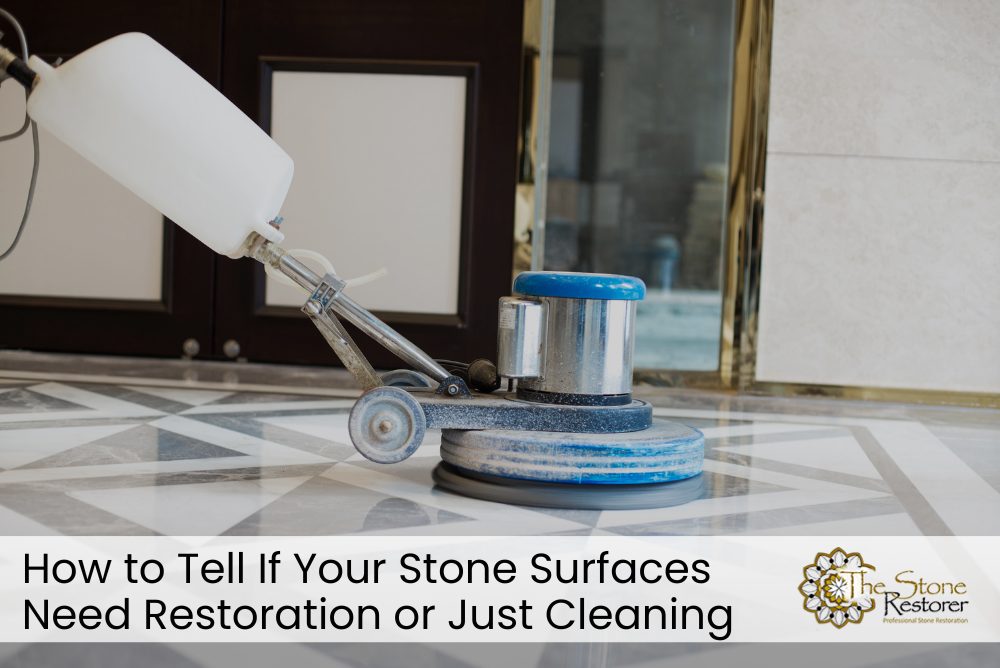
What the Stone Restoration Process Involves
Stone restoration combines deep cleaning with grinding, polishing and sealing. The scope depends on the damage and the type of stone, but the process generally follows a structured path.
The first step is always a full assessment. This involves testing how porous the stone is, identifying any hidden cracks or moisture, and checking what kind of sealants or finishes were previously applied. Once assessed, technicians proceed with a deep clean using machines that lift out embedded grime without damaging the surface.
Honing comes next. This process uses fine abrasives to smooth out surface damage like scratches, scuff marks or dull patches. Honing not only levels the floor but also preps the stone for the polishing stage.
Polishing restores the surface finish—matte, satin or glossy—based on preference and stone type. This brings out the natural colour and shine that’s often dulled by years of use.
Finally, a sealant is applied to protect the newly polished surface from stains, spills and future wear. This step is essential and often overlooked, yet it’s what keeps the results lasting long after the work is done.
Investing in polishing stone floors for long-term value is one of the most effective ways to maintain a beautiful, long-lasting finish.
The Hidden Costs of Avoiding Restoration
Delaying floor restoration may seem harmless in the short term. But like a slow leak in plumbing, the damage compounds over time. Stains that could’ve been removed with polishing sink deeper into the stone. Cracks widen. Moisture spreads beneath the tile. By the time it becomes visible, it often requires full tile replacement rather than surface treatment.
There’s also the aesthetic cost. A beautiful home with a worn, stained or uneven floor sends the wrong message—especially when selling. Natural stone is often viewed as a high-end material, so signs of neglect can lower a home’s perceived value.
Then there’s safety. Chips or uneven patches can become tripping hazards, especially for older residents or children. Water infiltration can cause mould or slippery surfaces, turning a once-stunning room into a potential hazard.
Treating restoration as preventive maintenance—rather than a last resort—reduces long-term cost and keeps your home safer and more visually appealing.
Why Sealing Matters More Than You Think
Sealing is often viewed as a final touch, but in truth, it’s one of the most important parts of restoration. Natural stone is porous by nature. Without a proper seal, spills, oils and water can all seep into the surface, causing discolouration or even structural decay from within.
There are two main types of sealers: topical and penetrating. Topical sits on the surface and is usually easier to apply, but it can wear off quickly. Penetrating sealers sink into the pores of the stone, offering longer-lasting protection without changing the appearance or texture.
Sealing also makes routine cleaning easier. Dirt and spills remain on the surface, where they can be wiped away instead of soaking in. For high-use areas like kitchens or entryways, regular sealing extends the time between each restoration cycle.
Neglecting this step leads to faster deterioration and often shortens the lifespan of even the most durable stone surfaces.
How Restoration Differs From General Cleaning
It’s easy to confuse a freshly mopped floor with a clean one. But mopping alone doesn’t remove scratches, watermarks or ingrained dirt. Regular cleaning also does nothing to fix surface erosion, etching or cracked grout.
Restoration dives deeper. It treats underlying issues, not just surface grime. Honing and polishing eliminate wear and tear. Repairs fix broken edges or damaged tiles. Most importantly, restoration rejuvenates the natural colour and texture of the stone.
Even professional cleaning services often stop short of restoration. A cleaning company may use strong chemicals or scrubbing pads that leave visible damage on sensitive materials like marble or limestone.
True restoration requires a targeted, material-specific process. It’s not about simply making the floor look better. It’s about preserving the stone’s integrity while renewing its natural look.
Maintenance Tips to Extend the Life of Restored Floors
After going through the restoration process, protecting the result should be a top priority. Good maintenance doesn’t require much—it just needs consistency and the right techniques.
Here’s what every homeowner should do:
- Use pH-neutral stone-safe cleaners
- Place doormats at entrances to catch dirt and grit
- Wipe spills immediately to avoid stains
- Reseal every 12–24 months depending on traffic
- Avoid vinegar, lemon, bleach or acidic cleaners
- Attach felt pads to furniture legs
It’s also worth setting a regular inspection schedule. Every six months, check for dull spots, moisture absorption or minor cracks. The earlier these are caught, the cheaper and easier they are to address.
These habits go a long way in preserving the investment you’ve made in restoring your stone floors.
FAQs
1) How can I tell if my stone floor needs restoration instead of just cleaning?
A mop won’t remove etching, surface damage or deeply embedded dirt. If your floor looks uneven, feels rough or absorbs water instead of repelling it, cleaning won’t be enough. Signs like lost shine, discoloured grout and chips are strong indicators that restoration is needed. A simple water test can help—if water soaks in rather than beads, the seal is gone. Another sign is visible wear in high-traffic zones. Cleaning will only mask the issue. Restoration treats the root causes through grinding, polishing and sealing.
2) What types of stone are most difficult to restore?
Soft, porous stones like limestone and marble are generally more sensitive and require specialised handling. Slate can be unpredictable due to its layered structure, and travertine often holds dirt in its natural pits. These stones need specific treatments to avoid damage. Stones with textured finishes or matte surfaces also require extra care. Using the wrong abrasive or chemical can cause permanent damage. On the other hand, harder stones like granite can withstand deeper grinding but may still suffer from improper polishing methods.
3) Is professional stone restoration worth the cost?
Restoration costs more upfront than a basic clean but offers better value over time. Done right, it extends the life of your floor, prevents further damage and enhances your property’s look and value. Replacing tiles due to neglect costs significantly more than scheduled maintenance. Professionally restored stone also tends to need fewer touch-ups later. Plus, most services include sealing, which adds another layer of protection. If your floor is showing signs of age, a one-time professional job can delay the need for a full replacement for many years.
4) Can I restore stone floors myself?
Minor touch-ups or cleaning are manageable with the right products, but full restoration is risky without training. Grinding and honing require precise tools and pressure control. Using the wrong polish or cleaner can ruin the surface permanently. DIY sealers may not provide lasting protection. In most cases, poorly executed DIY efforts end up costing more to fix. Professionals have specialised equipment and material knowledge that ensures both safety and quality. Unless you’re experienced and confident, professional help is the safer and more cost-effective option.
5) How long does the restoration process take?
The duration depends on the size of the space, the stone type and the extent of the damage. For an average living room or kitchen, restoration may take one to three days. Heavily damaged or textured floors can take longer due to grinding and multiple sealant layers. Drying times between stages also affect the total timeframe. The technician will need to wait for moisture to evaporate fully before sealing. In general, expect the room to be unusable for a short period but safe to walk on once sealing cures.
Bring Stone Floors Back to Life with Confidence
Restoring stone floors isn’t just about refreshing their look. It’s about reinforcing their structure, preserving their natural charm and making sure they hold up against the everyday demands of family life. From subtle shine loss to more visible damage, the signs are there—and acting on them early matters.
Professionally restored stone can elevate your space, extend the life of your floors and reduce the chance of needing costly replacements. As more homeowners embrace natural materials and timeless finishes, staying ahead of wear and deterioration becomes part of responsible home care.
For more insights into how to care for and maintain natural surfaces, visit The Stone Restorer who specialise in professional stone cleaning and restoration solutions built to last.
Give us a call today at 0414 469 301 or ask us for a fast free quote on your tile cleaning or restoration project