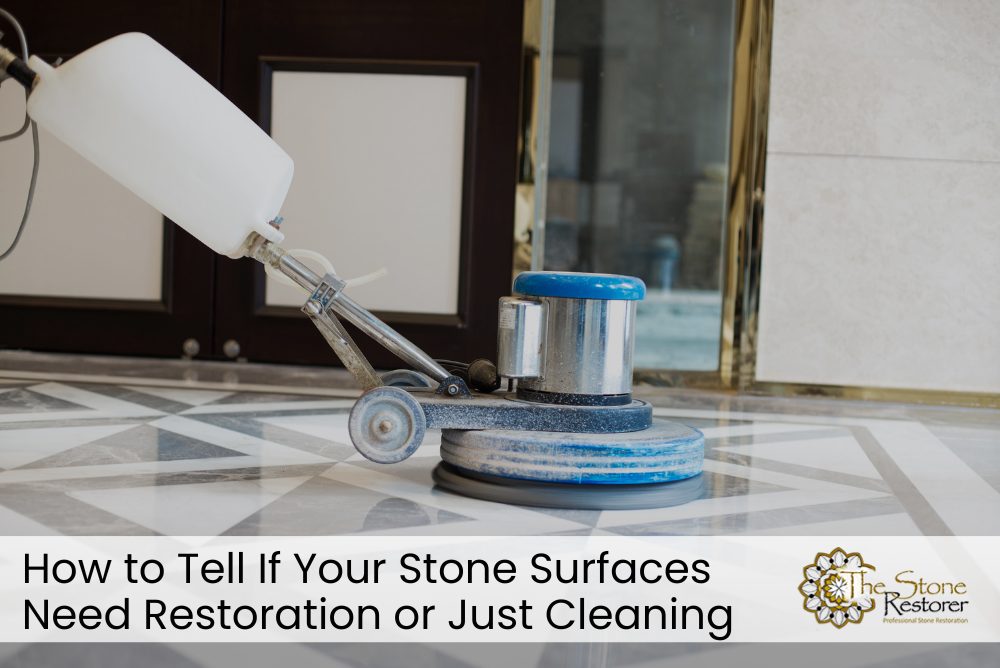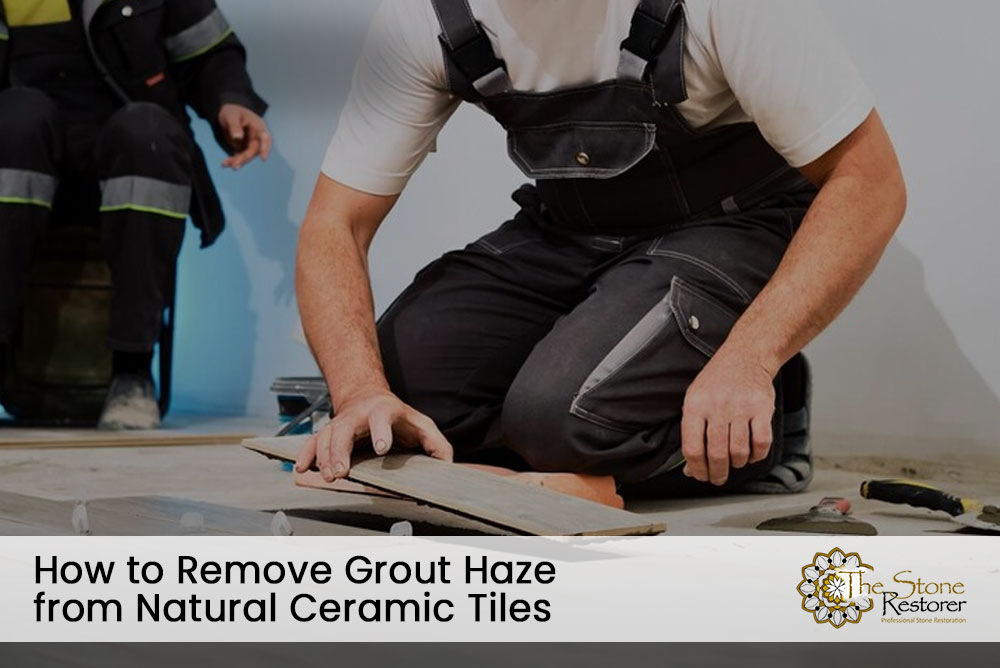
Natural ceramic tiles are a popular choice for both residential and commercial spaces due to their durability and aesthetic appeal. However, when it comes to installing ceramic tiles, dealing with grout haze is a common challenge. Grout haze is that cloudy, hazy residue that can appear on the surface of your ceramic tiles after the grouting process.
While it may seem like an unavoidable nuisance, fear not; this guide will walk you through the process of effectively removing grout haze from your natural ceramic tiles.
Importance of Proper Removal
Properly removing grout haze is not just about restoring the tiles’ visual appeal. It also plays a significant role in ensuring the longevity and performance of your ceramic tiles. Grout haze can trap dirt and moisture, leading to staining, discoloration, and even the growth of mold and mildew over time.
By taking the right steps to remove grout haze, you’ll not only enhance the appearance of your tiles but also extend their lifespan.
Understanding Grout Haze
Grout haze is essentially a thin film of grout residue that remains on the surface of ceramic tiles after the grouting process. It occurs when grout is applied and excess grout is not completely wiped off during the cleaning stage. As this residue dries and hardens, it creates a cloudy or hazy appearance on the tiles.
Understanding the causes of grout haze can help you prevent it in the future. Some common reasons for grout haze include using too much water during the grout cleanup, using improper cleaning techniques, or not buffing the tiles properly during installation.
Preparing for Haze Removal
Before you begin the grout haze removal process, gather the essential tools and materials you’ll need. These may include white vinegar, a bucket, clean water, a soft sponge, cheesecloth or a microfiber cloth, and gloves.
Safety Precautions
When working with any cleaning solutions or chemicals, it’s important to take safety precautions. Ensure that the area is well-ventilated, and if you’re using commercial grout haze removers, follow the manufacturer’s safety instructions and wear appropriate protective gear.
Methods for Removing Grout Haze
There are several methods for removing grout haze from natural ceramic tiles. We’ll explore each of them to help you choose the one that suits your needs best.
Method 1: Using Vinegar and Water
1. Mixing the Solution
Start by creating a cleaning solution by mixing equal parts of white vinegar and clean water in a bucket. This natural solution is gentle yet effective for grout haze removal.
2. Application
Dampen a soft sponge or cheesecloth with the vinegar and water solution. Make sure it’s not dripping wet, just slightly damp.
3. Scrubbing
Gently scrub the grout haze on the ceramic tiles using circular motions. Avoid applying excessive pressure, as this can scratch the tiles.
4. Rinsing and Drying
Rinse the tiles with clean water and wipe them dry with a microfiber cloth. Check for any remaining haze, and repeat the process if necessary.
Method 2: Commercial Grout Haze Removers
1. Choosing the Right Product
If the grout haze is stubborn and the vinegar solution doesn’t yield desired results, consider using a commercial grout haze remover. Ensure the product is suitable for your ceramic tiles by following the manufacturer’s recommendations.
2. Application
Follow the instructions on the product label for application. Typically, you’ll apply the remover to the affected areas and allow it to sit for a specified time.
3. Scrubbing
After the specified time, scrub the grout haze gently using a soft sponge or scrubbing pad provided with the product.
4. Rinsing and Drying
Rinse the tiles thoroughly with clean water and wipe them dry with a microfiber cloth.
Method 3: Manual Scrubbing with an Abrasive Pad
1. Selection of Abrasive Pad
For more stubborn grout haze, you can use a fine abrasive pad. Ensure that it’s appropriate for use on ceramic tiles.
2. Wetting the Tile
Wet the affected tile surface with clean water.
3. Scrubbing in Circular Motions
Using the abrasive pad, scrub the grout haze in gentle circular motions. Be cautious not to apply too much pressure to avoid scratching the tiles.
4. Rinsing and Drying
Rinse the tiles thoroughly with clean water and dry them with a microfiber cloth.
Method 4: Dry Polishing
1. Selection of Polishing Pad
For a professional touch, you can use a dry polishing pad, often made of diamond-impregnated resin, to remove grout haze.
2. Dry Polishing Process
Attach the dry polishing pad to a low-speed buffer or polisher. Use it to polish the tile surface until the grout haze disappears.
3. Cleaning and Drying
Clean the tiles of any residue and dust, and then wipe them dry with a microfiber cloth.
Tips for Effective Haze Removal
When removing grout haze, it’s best to work in small sections to ensure thorough and controlled cleaning. Excessive pressure or harsh scrubbing can damage your ceramic tiles. Always use gentle circular motions and soft materials.
If you’re using a cleaning solution, change it frequently as it becomes dirty to avoid spreading haze. Ensure proper ventilation when working with cleaning solutions or commercial grout haze removers to prevent inhaling fumes.
Dealing with Stubborn Haze
If despite your best efforts, grout haze remains stubborn, it’s advisable to seek professional tile and grout cleaning services. Professionals have the expertise and specialized equipment to handle tough cases.
Preventing grout haze is as important as knowing how to remove it. Proper grouting techniques, careful cleanup during installation, and sealing your ceramic tiles can help prevent future haze issues.
Final Thoughts
Removing grout haze from natural ceramic tiles doesn’t have to be a daunting task. With the right methods and a little patience, you can restore the pristine beauty of your tiles and enjoy a clean, inviting space.
Whether you’re renovating your home or maintaining a commercial space, knowing how to remove grout haze effectively is a valuable skill. By following the steps and methods outlined in this guide, you can bid farewell to grout haze and welcome back the lustrous beauty of your natural ceramic tiles.
If you’re looking for reliable and experienced professionals to assist you with the cleaning and restoration of your natural stone tiles, consider The Stone Restorer. Our team of experts understands the nuances of different stone types and employs industry-leading techniques to deliver exceptional results.
Give us a call today at 0414 469 301 or ask us for a fast free quote on your tile cleaning or restoration project.